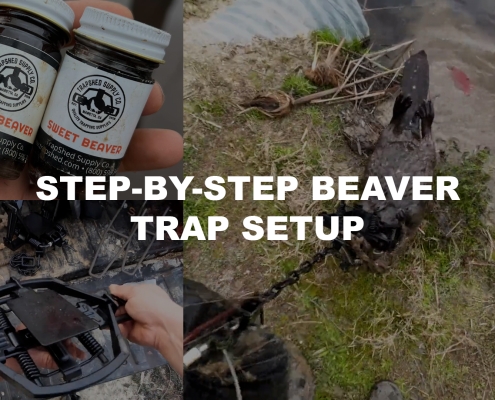
Predator Trap Modifications
With trapping season over, it’s time to clean up and prepare for next year. Some trappers will just hang their traps in the garage and pull them back out next year, while others will take the time to clean them up and begin to set the stage for a successful future predator trapping season. This week we’ll take a look at how to properly clean, modify, prepare, and store your traps for next year.
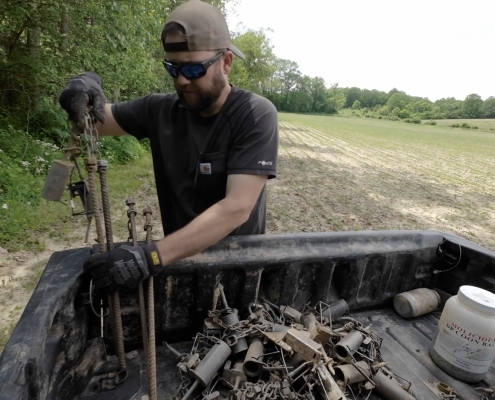
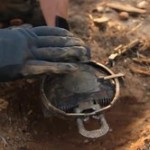
To start, we need to power wash our traps to get all of the dirt off from last year and inspect them to make sure nothing is bent or broken. We noticed that many of the frames on the traps had bent due to the strength of the springs. To prevent this from happening, we welded a base plate across the bottom to strengthen it and prevent the frame from bending next year. This base plate is held on with a few welds to create a sturdier trap. The next trap modification is a adding a lamination kit to our traps. This kit is a wire that fits flush to the jaw and prevents the animal from suffering. They take careful positioning right on the edge of the jaw to correctly function, but the end result offers increased holding power.
To finish up our preparations for next year’s trapping season, we install a double swivel and shorten our anchor chain. This adds more stability to the trap as well as increases it’s life span when properly taken care of. We also boiled and dipped our traps in de-greaser and dye to eliminate scent and prevent rust for the coming season. Our traps are now fully prepared for the 2013-2014 season and have been modified for better performance. We can now store them until it’s time to trap again. Fortunately, that time was sooner than we planned it would be!